
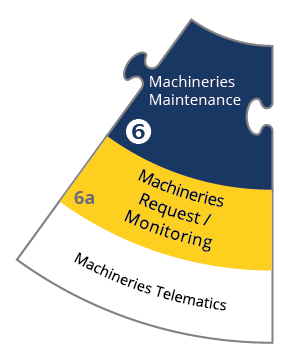
Blueprint – 06. Machineries / Maintenance
1 Introduction
The Machineries module in ProjectVIEW has been designed to monitor the machineries, their allocation, and maintenance.
This manual discusses how machineries are created and managed.
2 Machineries
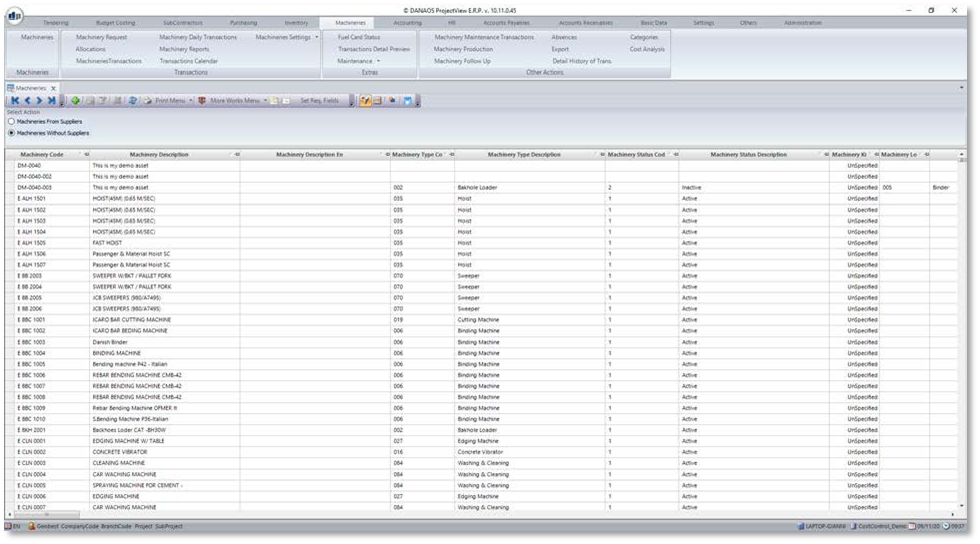
When in the machineries page, the user is able to find all the machinery that has been created and stored into the master data on the system. It is also possible form this page, to edit and add new machineries into the master data.
2.1 Machinery Form
2.1.1 Basic Data
This tab contains the machinery’s basic information.

When adding a new machinery or editing an old one, the basic data page is the main page for all the general info regarding the machinery. Ranging from the plate number, the type of machine, the status of the machine, and so on.
The important fields to fill are:
- Machinery type code
- Machinery Status code
- Machinery Kind
Machinery type is a custom way of categorizing machinery into the user’s own way. Machinery types can be created in the master data in order to accommodate all the user’s needs.
Machinery status code can also be categorized and created by the user in the master data. It is to update the condition of the machinery for example if active, damaged, or undergoing maintenance, etc…
Machinery Kind is a way for the system to mainly categorize the machinery into different forms; Car, Tool, or Machine. Car is any car that is under the company name. Machinery are stuff like cranes and bulldozers. Tools are anything ranging from drills to shovels and so on.
It is also possible to assign the owner of the machinery, whether it is the company of the end user or if it is a rental from a subcontractor.
2.1.2 Purchase Data
This tab contains information regarding the machinery’s purchase.
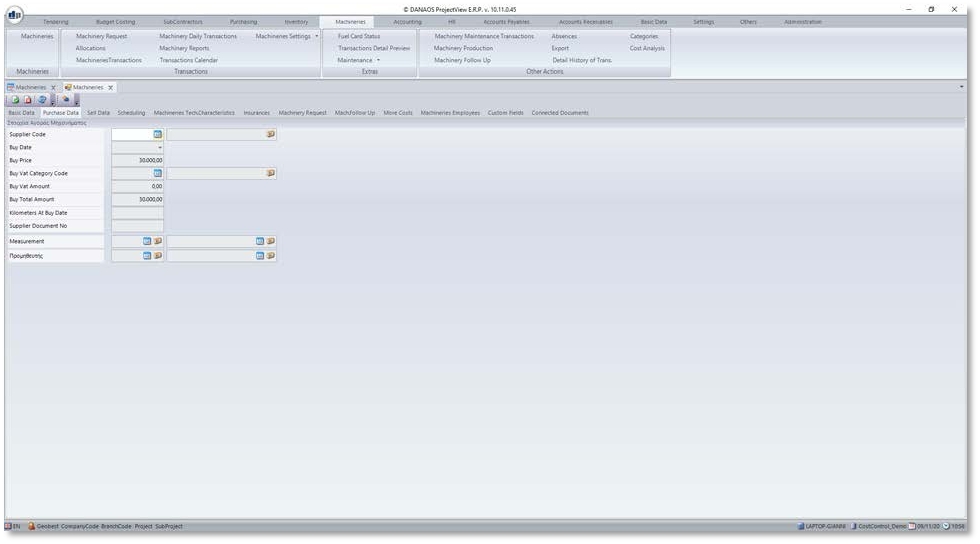
On this page, the user is able to add the information needed regarding the purchase of the machinery, including when it was bought, price of purchase and so on.
2.1.3 Sell Data
This tab contains information regarding the machinery’s sale.
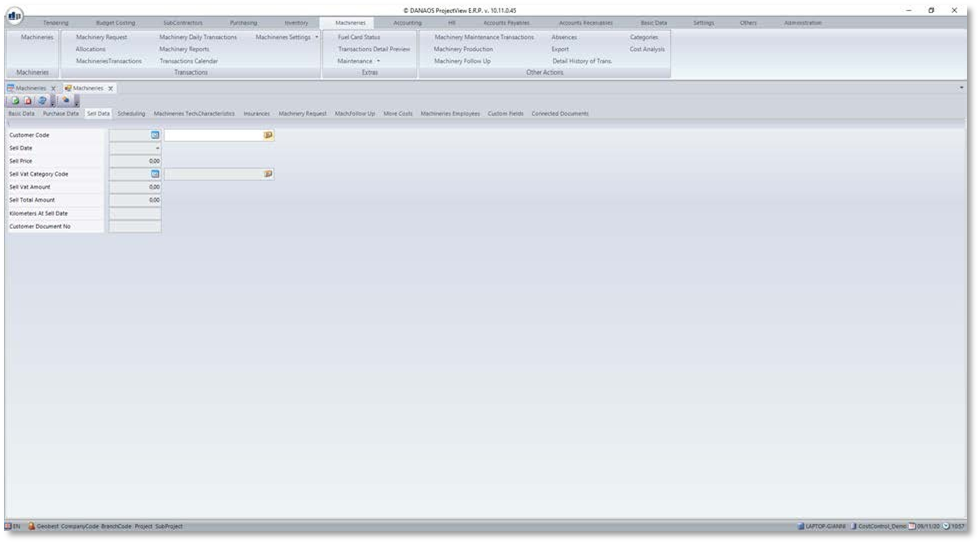
Sell data is similar to the purchase data page but for selling purposes; selling price, date, etc….
2.1.4 Scheduling
This tab allows users to log the usage of this machinery. The user can log the operator, project, branch etc.
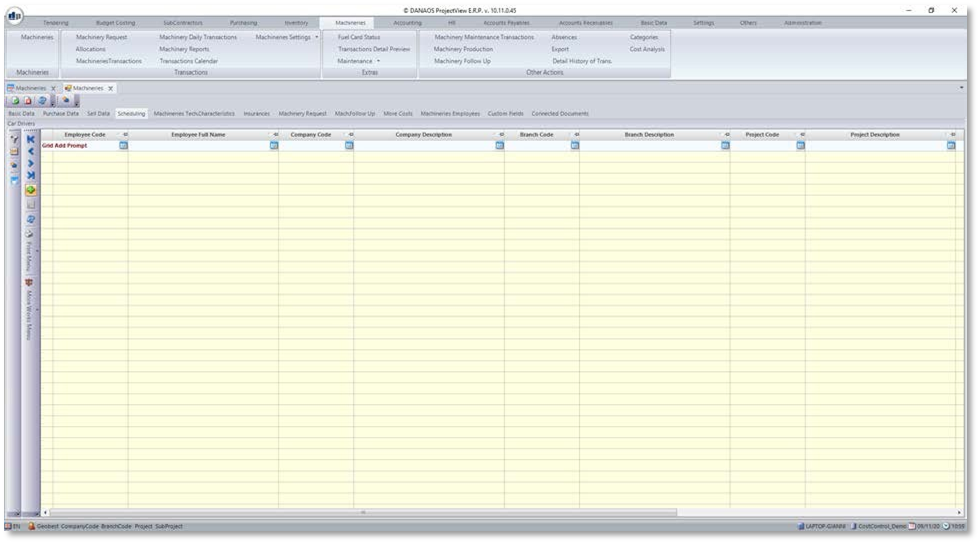
Scheduling is used for assigning a machine’s schedule and availability to a project. However, it isn’t recommended to use this feature, since there is another feature coming up which is made for better practice. The option to use this feature is still there should the user want to use it.
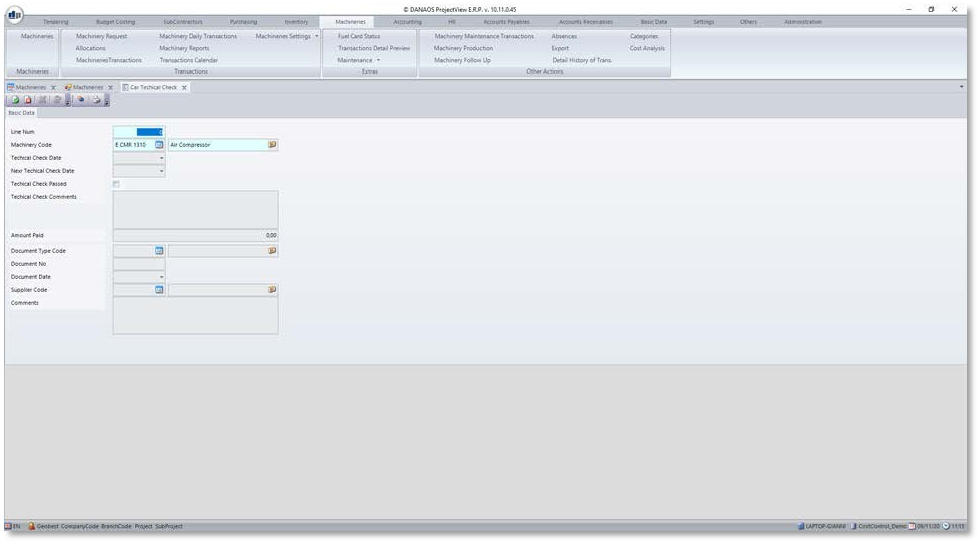
2.1.5 Machineries Technical Characteristics
This tab allows the user to log the technical checks the machinery goes through.
On this page, the user will enter all the necessary maintenances and technical checks needed for the machinery. The user is able to assign the kind of check, add comments, state whether it passed or failed on the check, and so on.
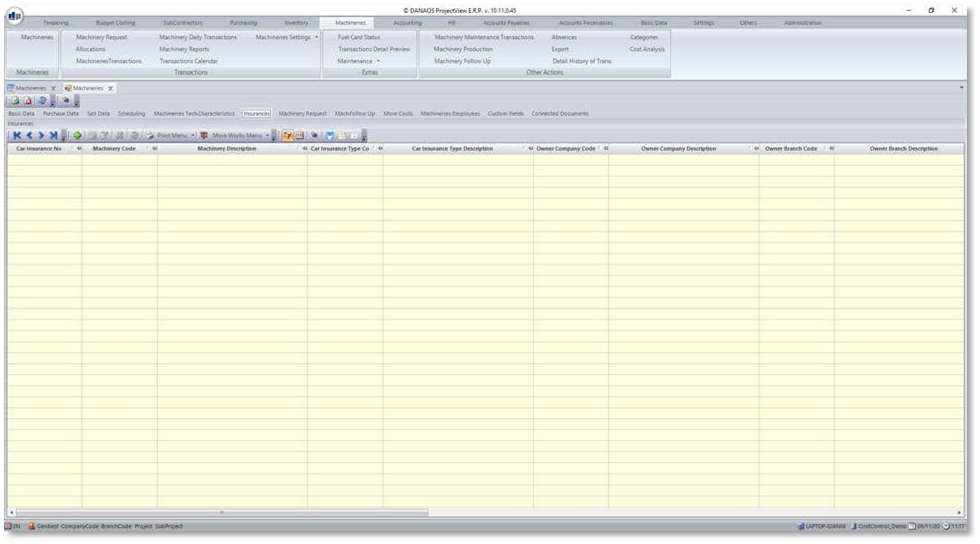
2.1.6 Insurances
This tab allows the user to log the insurance policies for this machinery.
Adding a new insurance in the grid will display the insurance form:
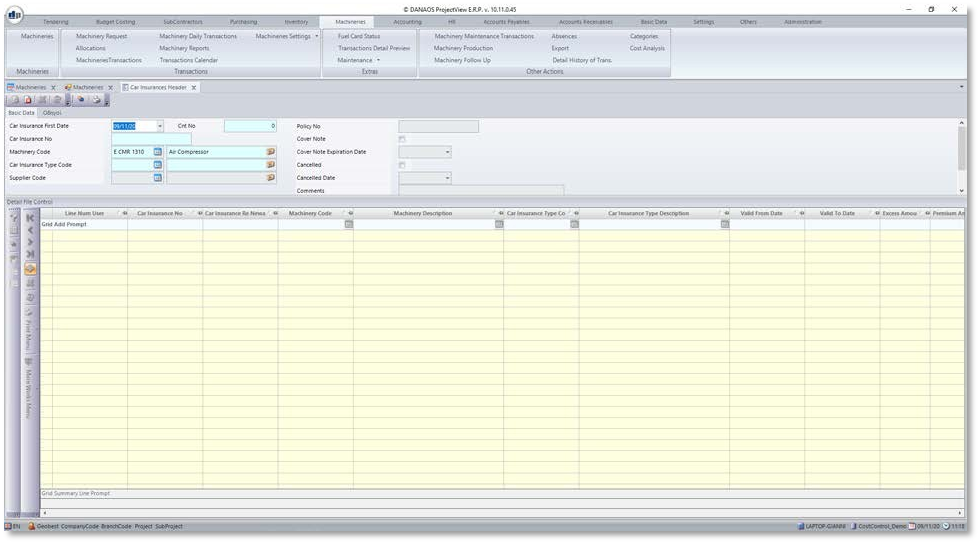
The “Basic Data” tab in the insurance form contains all the necessary details of the insurance. There is a second tab, which allows the user to assign specific drivers to that particular insurance policy.
The use is able to create as many insurances as he sees fit for the machineries. All these can be added to the master data similar to the machinery type and status from before.
Once insurances have been created, they can be applied to different machineries depending on which insurance is applicable to which machine.
The user will then able to add the necessary information regarding this insurance and save.
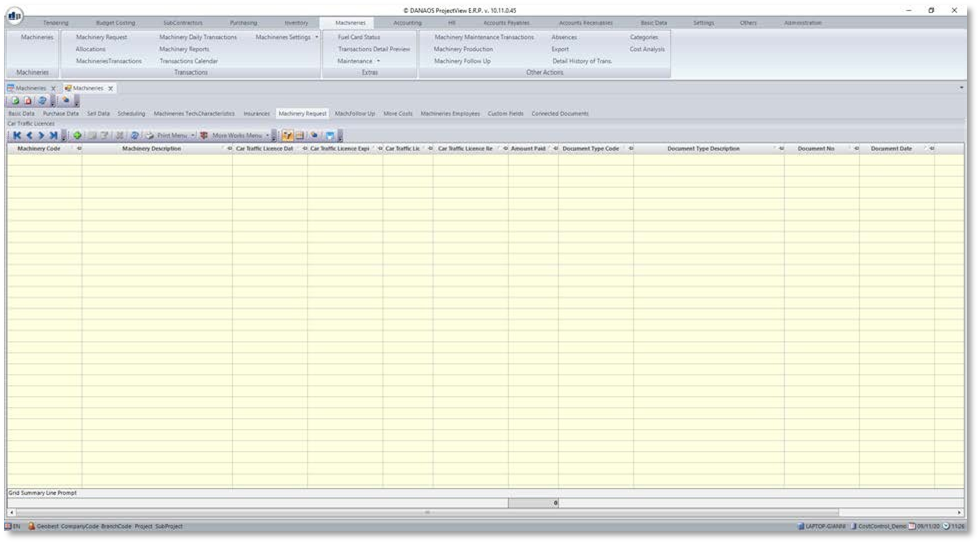
2.1.7 Machinery Requests
This tab lists all the machinery requests for this machinery.
This feature will be used on a separate tab for the machineries module where it is more easily practiced.

This page can also be accessed via the web portal for ProjectView which can be accessed via phone, laptop, or tablet.
Similar to what was explained on the ProjectView app, the site employee/user will request machinery types with specified dates to be sent to site.
Where the end user will then go to allocations on the desktop app and allocate the proper specified machinery for each type requested.


2.1.8 Machineries Employees
This tab lists all the employees that have been assigned to this machinery.
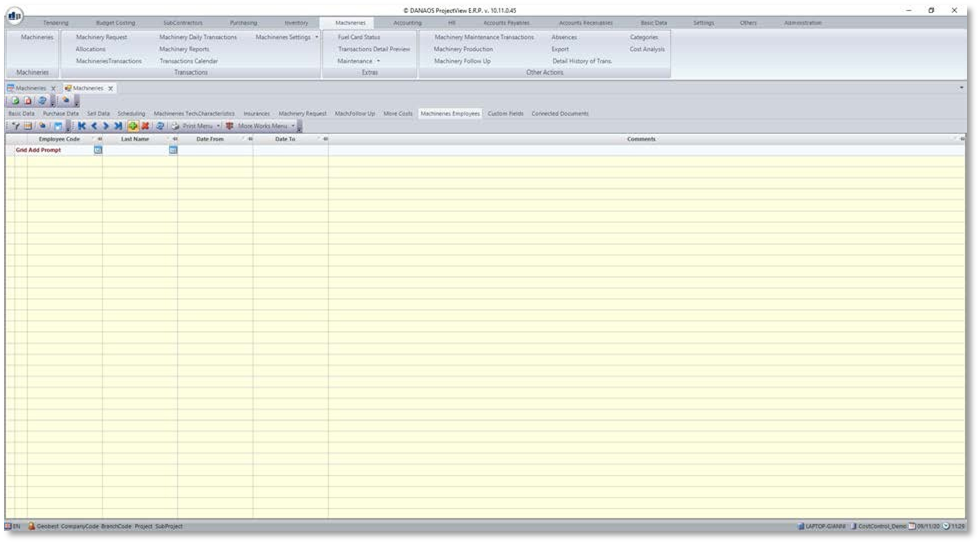
This page allows for users to assign responsibility of certain machineries to an employee for a set period of time. This giving the specific machine and owner/user history across it’s lifespan and usage.
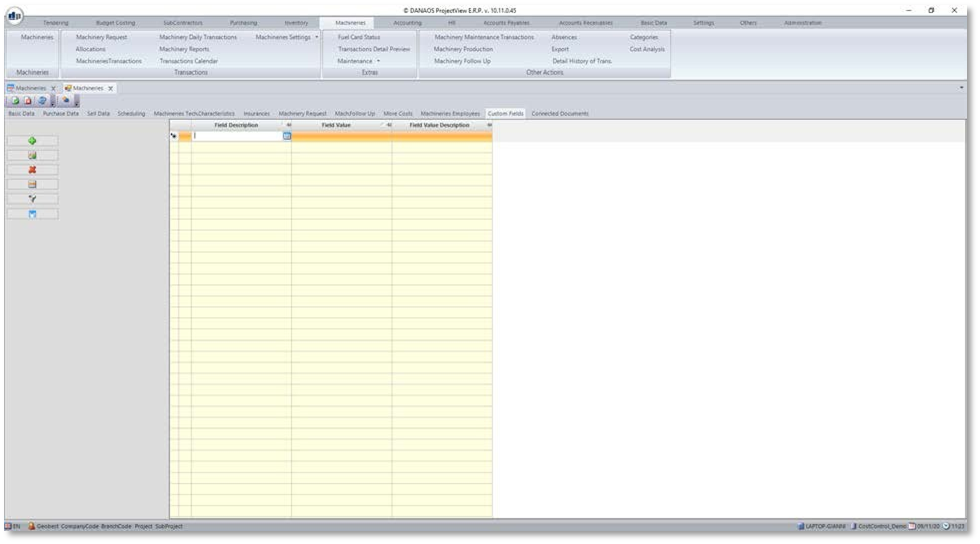
2.1.9 Custom Fields
There may be some technical or other characteristics, unique to this machinery. It is possible to add these by filling in the grid in this tab.
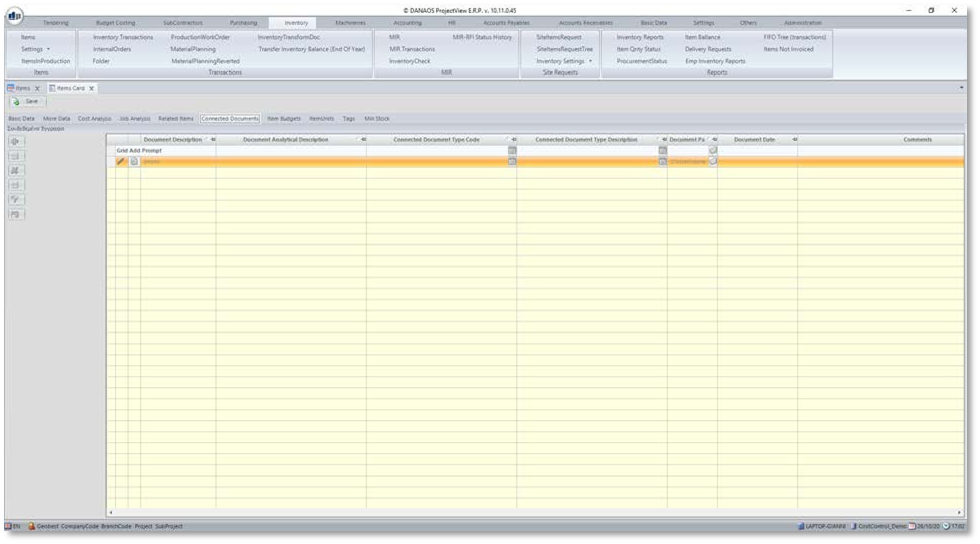
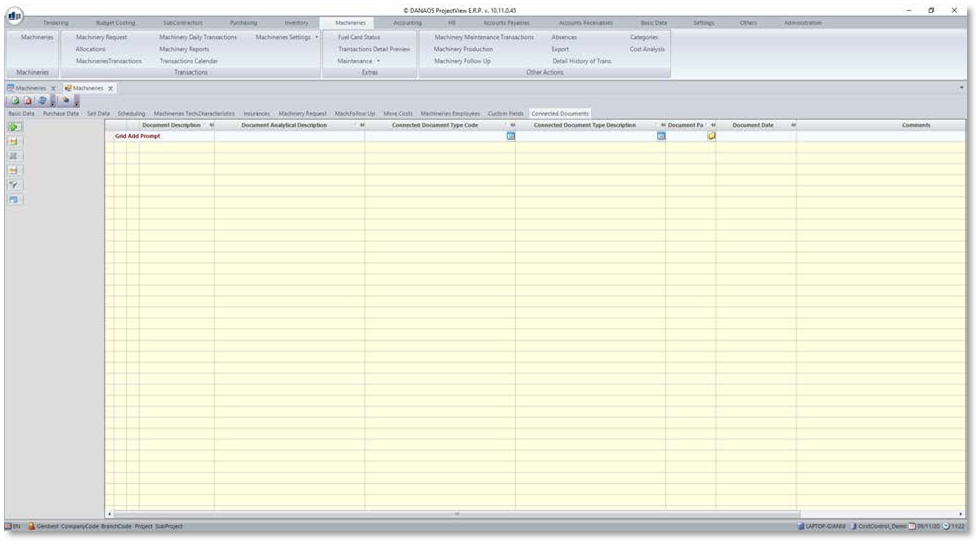
2.1.10 Connected Documents
It is possible to associate a machinery with one or more documents (e.g. Manuals). This tab allows for these documents to be associated with the machinery.
2.2 Requests (Sub Module)
2.2.1 Via ProjectView App
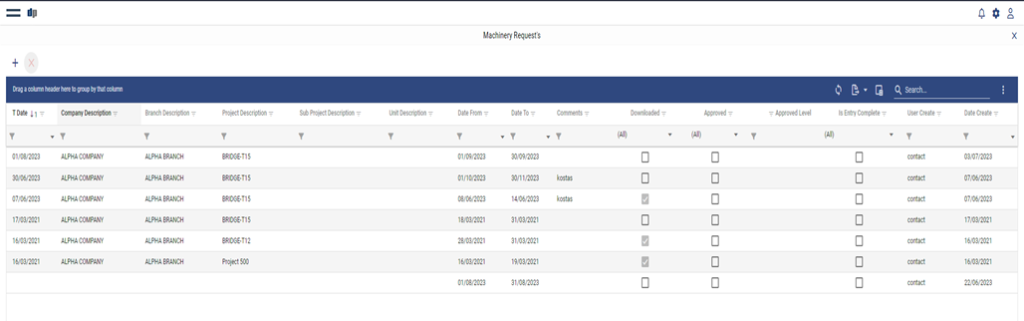
User create a Machinery Request by adding the project, the period, and in detail lines the type of the machineries that request.
User can request different period per Machinery type
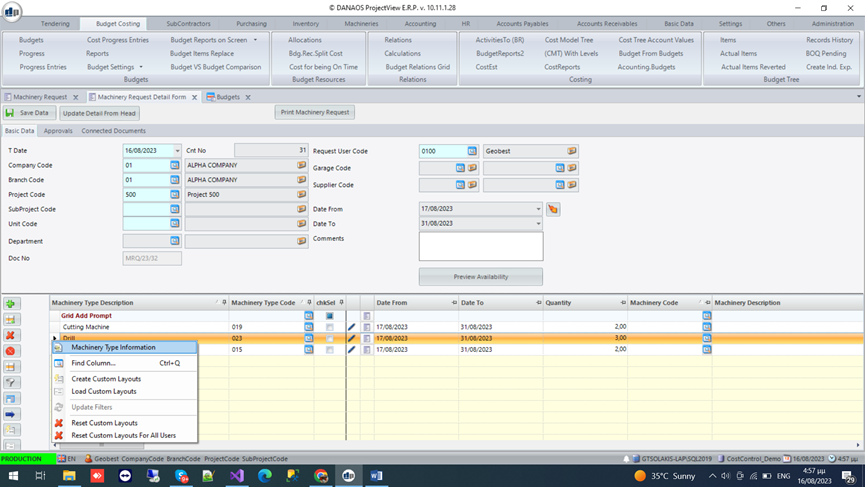
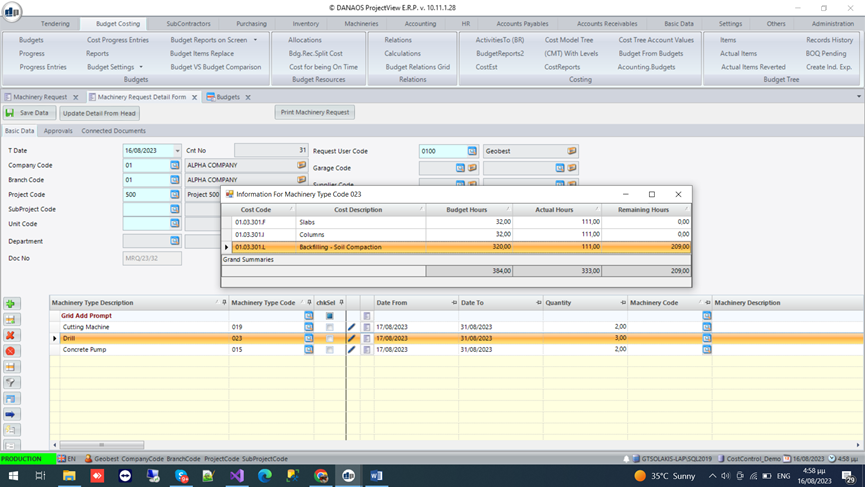
Once the User has selected the department, the corresponding approvals workflow will be assigned to the document. The approving users are then able to check if the tools requested are budgeted and their full usage (Per hour) hasn’t been depleted or used by the project. This can be done by right clicking each detailed line.
the following screen will appear:
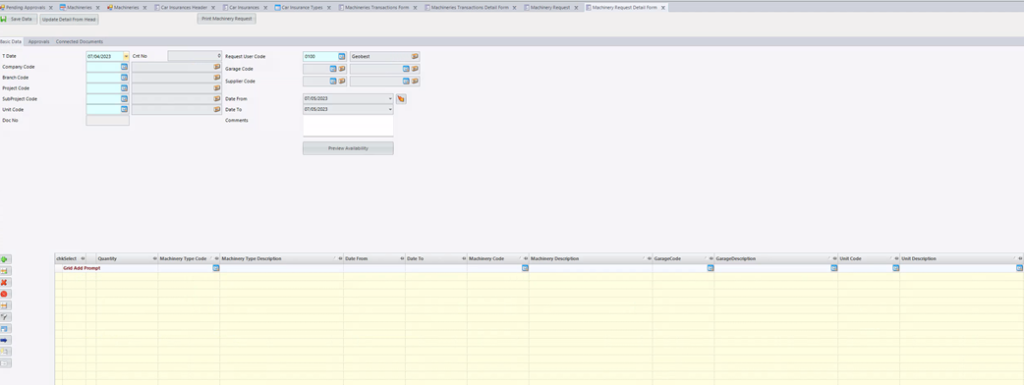
The Machinery request form is where the user sends requests from site for the proper machinery.
When filling the form, the user is required to enter the machinery types and quantities as well as the site that the machineries are requested to.
The user will be able to select the request dates from/to that which is required for the machines to be on site.
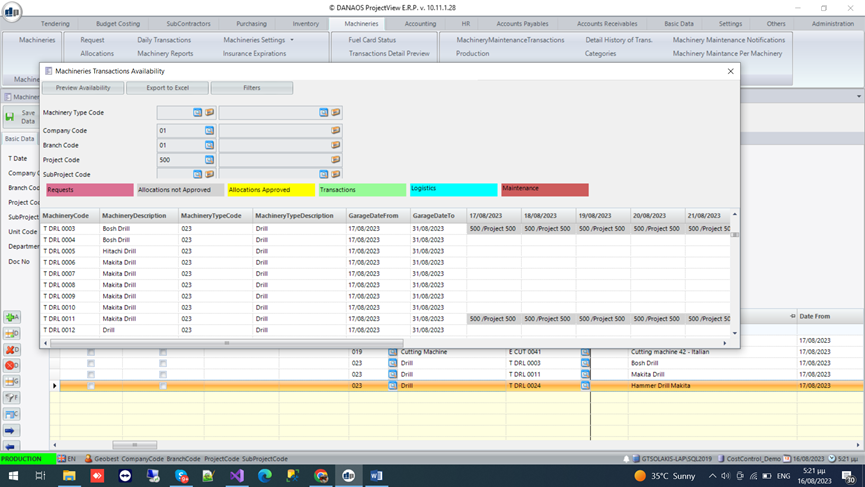
When requesting, the user is capable of previewing the available dates for the machines to be requested and they will be color coded in order to identify the status of these machines on the required dates.
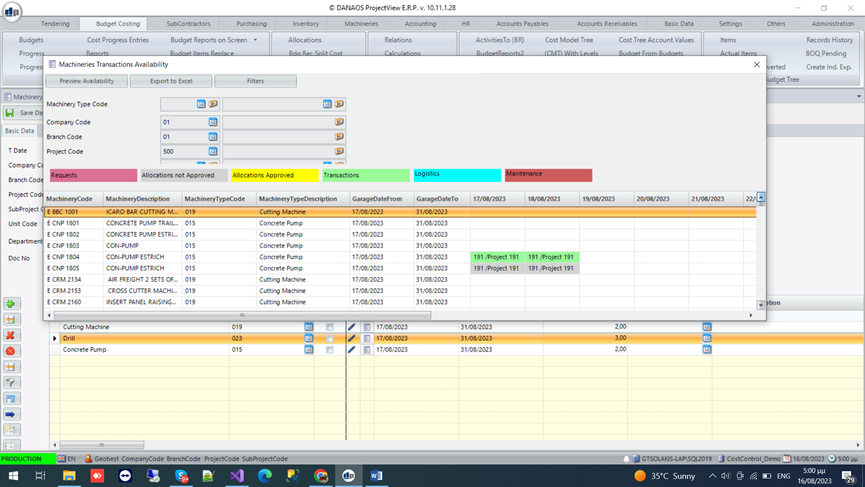
Pink = Under Request
Grey = Allocation not approved
Yellow = Allocation approved
Green = Transactions (Not available)
Once the required machines have been selected, it is then required to transfer the request to allocations where the exact machinery and confirmation will occur.
2.2.2 Via Web Portal
This page can also be accessed via the web portal for ProjectView which can be accessed via phone, laptop, or tablet.
Similar to what was explained on the ProjectView app, the site employee/user will request machinery types with specified dates to be sent to site.
Where the end user will then go to allocations on the desktop app and allocate the proper specified machinery for each type requested.


2.3 Machinery Allocations
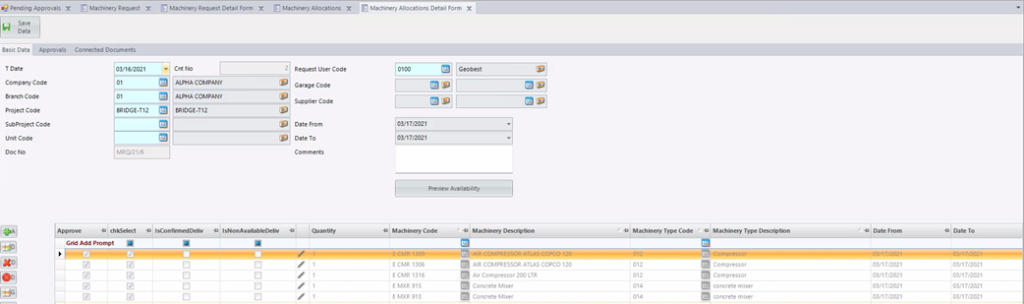
After the request is transferred to allocations, the end-user (Office employee) will then have to make a knowledgeable decision whether or not all these machines need to be delivered on site as well as choose the exact machines for the requested “Types”.
Once again in this page, a “Preview Availability” option will show on what dates are the requested machinery available in order to determine if a transaction is feasible or not on the desired dates.
Once the correct quantities and machineries are selected, several options are presented, approval, confirmation of delivery, and declination of availability depending on the situation.
Also, pre-approvals the availability screen will show the machines with greyed out dates indicating they are allocated but not approved as of yet.
Then once approved, the user will need to transfer the allocation to a transaction where the allocation of the machineries will be locked and no more changed can be made.
2.4 Transactions

After the Machineries have been allocated and chosen it is now shown in all the transactions page where you will be able to see the transaction history of the machines.
The user is also able to edit these transactions in order to identify from whether this transaction is from project to project or from garage to project by selecting the source from which the machinery is brought from.
2.5 Daily Transactions
2.5.1 Via ProjectView App
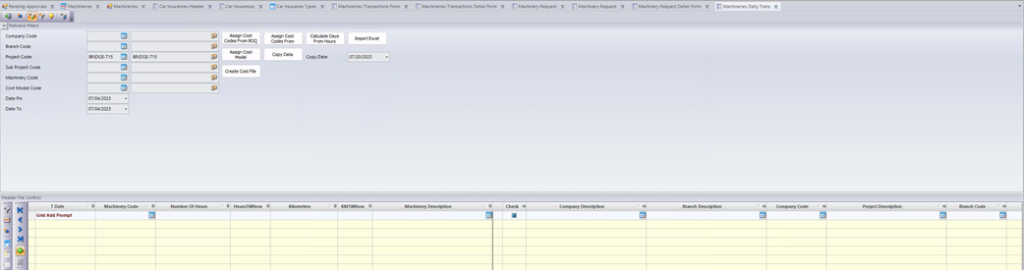
It is possible on this screen to manage and make transactions quickly and simply by choosing the machine, selecting the project, then selecting the usage date, employees, etc…
This is a quick way and a shortcut to doing machinery transactions, however it does make the tracking of the machinery difficult and does miss out on information that are usually conveyed through allocations and transactions.
2.5.2 Via Web Portal
Similar to the app, the user is able to shortcut transactions and allocations.
2.6 Machinery Maintenance
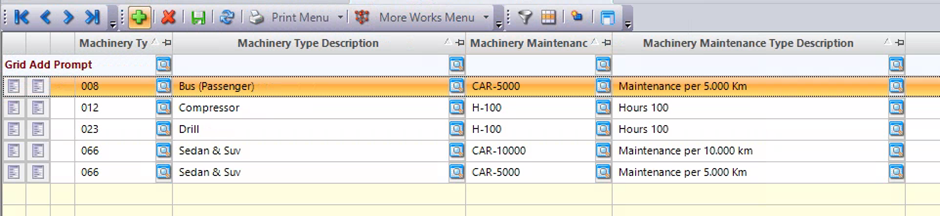
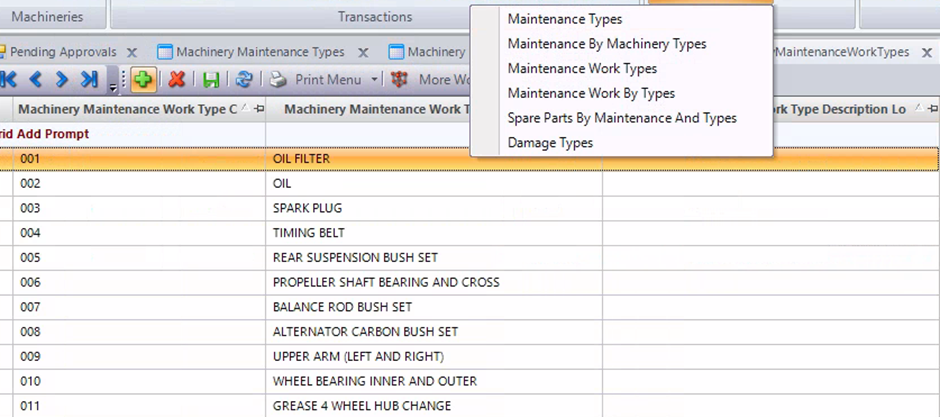
Different machineries have different types of maintenance required. It is important to first setup different maintenance types for different types of machinery. To do so the user must navigate to the machineries, maintenance, then maintenance types:

As shown above, all that is needed is the maintenance type for car-5000, indicating that a maintenance must be made for Cars every 5000 Kilometres.
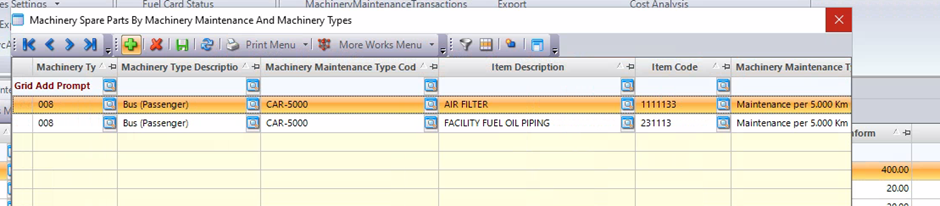
Once the maintenance types have been established, it is now possible to assign them to different machinery types with more conditions, the work required and the spare parts required for the maintenance.

From this screen it is possible to assign the machinery type that needs the respective maintenance. Then properly assign the amount of hours/kilometers needed for the maintenance to be due, as well as create a threshold for how prior to the required hours/kilometers should the user be informed.
For example, if the user chooses 5000 for hours/ kilometers, then assigns 400 for “How many hours/kilometers earlier to inform” column. Then once the user hits 4600 kilometers on the vehicle he will be notified that a maintenance is due soon.
As stated before, it is in this screen where the user also adds the spare parts and maintenance work types ie. Services. It is possible to do so by clicking on the A4 sheets buttons on the left of the column screen highlighted above.
The one on the left allows user to add the spare parts required for the maintenance process.
While the one on the right allows to add the Service types required on the maintenance or as described in the system, maintenance work types.
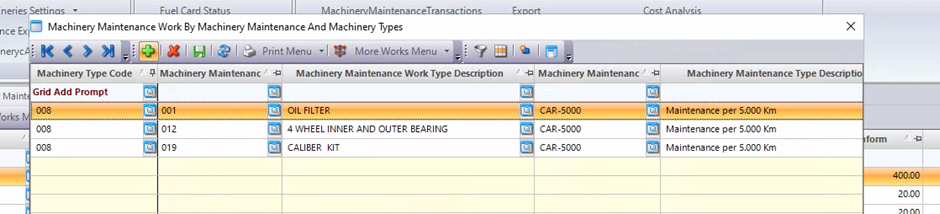
Maintenance work types can be created infinitely in the maintenance work types screen in the maintenance drop down menu on the machinery’s module screen.
Once these have been set up, it is then possible to start creating the maintenances. To do so, the user must navigate to MachineryMaintenanceTransactions

On this screen, the user will log the maintenance being done, the important details are the date in/date out, the machinery code, and the machinery type used.
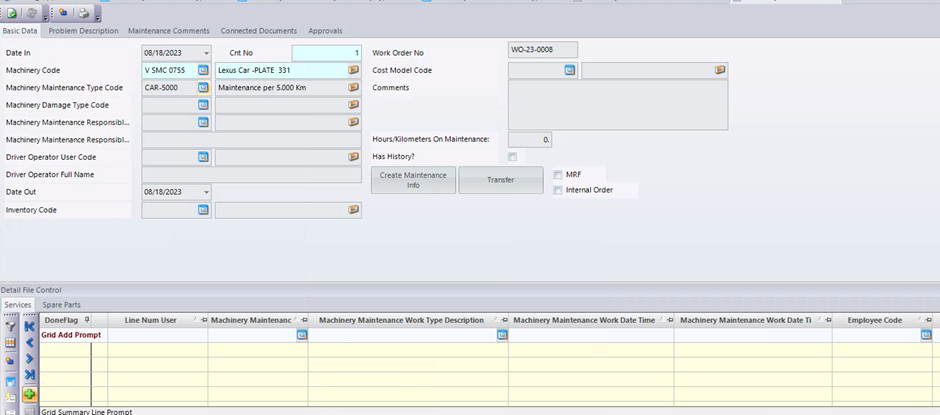
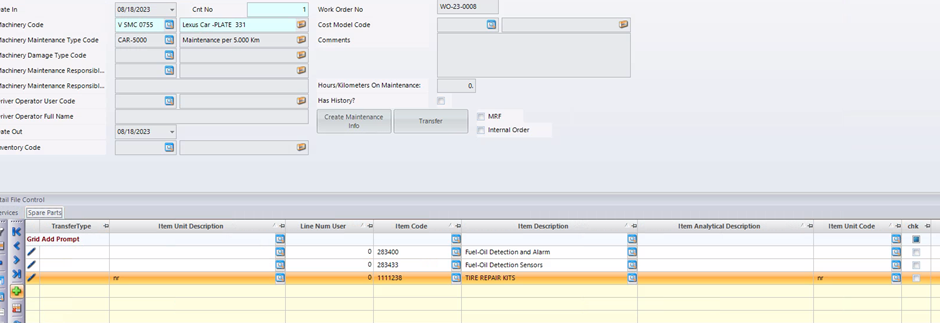
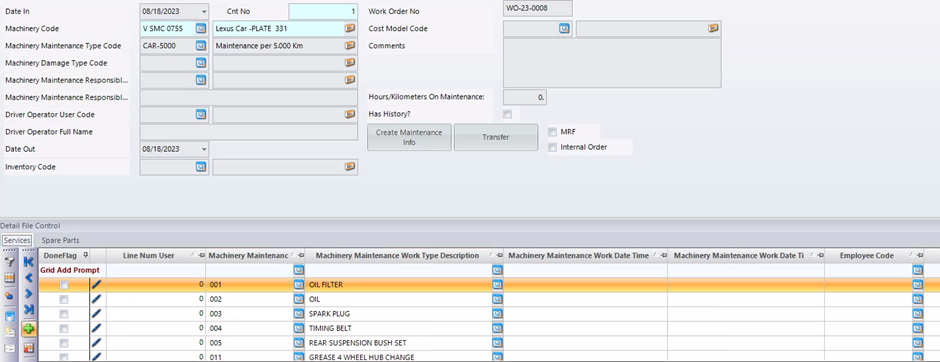
At the bottom of the screen, on the grid view, there are two options to see the spare parts as well as the services required for the maintenance.
Since the prior are both set up in the Machinery-by-machinery types screen from earlier. All that is required is from the user to click on “Create maintenance info” and the data will be automatically generated.
Another important detail to add to the page is the mileage/hours on maintenance when the machinery is to leave maintenance in order to track for when the next maintenance is due.
3 Machinery Reports
To view all available reports, the user has to navigate to:
“Machineries” > “Transactions” > “Machinery Reports” This will display the following form:
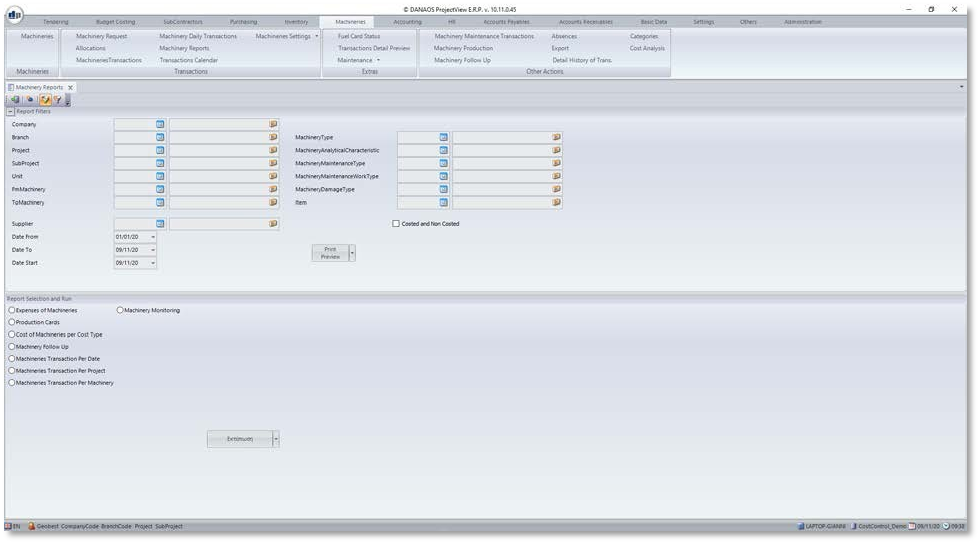
After providing the appropriate parameters the user can select a report and click on the “Print Preview” button to view it.
4 Appendix – Machinery Settings
There are various fields in the machineries, which use predefined codes. These are:
- Garages
- Machinery Expenses Types
- Car Traffic Licenses
- Car Technical Check
- Machinery Types
- Machinery Status
- Machinery Locations
- Gearbox Types
- Capacity Types
- Fuel Types
- Lubricant Types
- Fuel Card
- Fuel Card Usage Types
- Car Insurance Types
- Machinery Analytical Characteristics
To view/add/edit the above, the user has to navigate to:
“Machineries” > “Transactions” > “Machinery Settings” >
… and then choose the appropriate item from the list.

0 Comments